
Validate a Store Card / Loyalty Pass
Once the
The validation process identifies any errors or missing required information in the Wallet Pass content. You should run the validation process twice: once for the Apple content, and once for the Google content.
Prior to testing, you must ensure that you have at least one Test Member available in your Loyalty instance. Designating a Member as a Test Member is available on the Member Profile screen (see Edit Member Attributes for more information).
To validate the Wallet Pass:
-
Select Campaigns from the top navigation bar, then select Wallet Passes from the side navigation menu. The Wallet Passes screen is displayed.
-
Optionally enter a text string in the Search field, then click the Search icon. The platform filters the screen to only Wallet Passes that have that text string anywhere within the Display Name or Internal Name.
-
Click the desired Wallet Pass. The Wallet Pass Details screen is displayed, with the Apple tab selected by default.
-
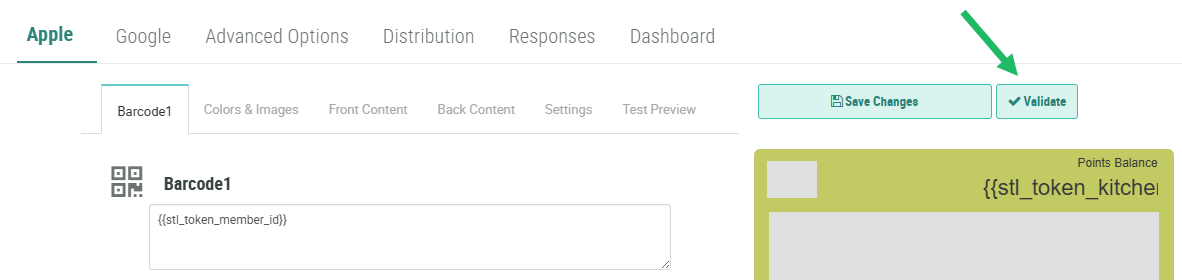
Above the Wallet Pass preview, click Validate. The Validate Wallet Pass pop-up window is displayed.
-
From the Member drop-down menu, select the desired Test Member. Optionally you can filter the Members available for selection by checking one or both of the following:
-
Only with Integration IDs
-
Only Test Members
-
Click Validate. The system runs the Wallet Pass through the validation process, and displays the details of passing and failing items.
-
Correct any failing items in the configuration and run the validation process again to ensure all items have been addressed prior to publishing.
-
Select the Google tab, and repeat the above steps to validate the Google content.
